No mechanic/audio shop is picking up. Also I should've taken a look after I removed the column cover first. I don't think the connectors will work with the radio I got -_- I guess I could get some adapter?
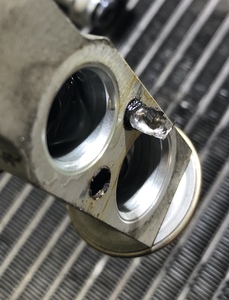
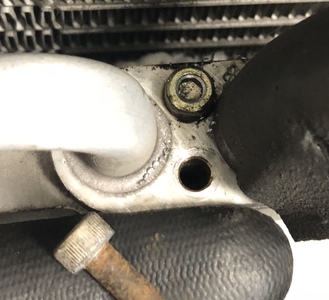
I did the same thing last weekend on my AC evaporator. I hate hex head screws! Use a sharp drill bit alittle larger than the bolt shank. I had to drill deeper still to get the expansion valve to come free.
I make Amateur Armrests - see the Commercial Forum. I also have SMT repair seals available.
I am a little reluctant to keep trying because I don't want to risk further damage but suppose I do remove it. How would I secure a new screw?
Drill the head of the screw off, use a larger bit, can be right handed, then once the radio is out you should be able to get the screw guts out. You made progress now go for the kill
..
🐸, 2003, Electric Green Mica
I have to get a bigger drill bit and it's starting to rain so might try tomorrow. Going to focus on rigging keyless entry. If anyone has any tips before I turn a 5 minute job into 5 years, please speak up. The thread is here https://www.mr2-spyder.com/community/diy-how-to/diy-viper-211hv-keyless-entry-system/
Im thinking notta is correct in that, iirc, are not the screws to remove the radio. Do a search. You pop the plastic pieces on the side to expose three screws on each side of the radio.
Im thinking notta is correct in that, iirc, are not the screws to remove the radio. Do a search. You pop the plastic pieces on the side to expose three screws on each side of the radio.
Listen to this man! haha
This reminds me, if you do not want to go aftermarket you can always hook an aux up to your car with one of these solutions:
..
🐸, 2003, Electric Green Mica
Im thinking notta is correct in that, iirc, are not the screws to remove the radio. Do a search. You pop the plastic pieces on the side to expose three screws on each side of the radio.
You can do it via the 3 screws on each side but I figured it's easier to do 4 on the front.
Im thinking notta is correct in that, iirc, are not the screws to remove the radio. Do a search. You pop the plastic pieces on the side to expose three screws on each side of the radio.
Listen to this man! haha
This reminds me, if you do not want to go aftermarket you can always hook an aux up to your car with one of these solutions:
I am not going aftermarket. I got an used Toyota OEM radio on ebay. I do have an adapter for aux. The reason I am replacing is because the CD player is broken.
You did it right. Ive removed the radio many times but always kinda forget. I’m actually going to be upgrading my wife’s radio in august (her b-day) with the Scion T1819, I think it is. Had already put that in mine and really like it. Good luck with the rest of the install.
looks like something a drill would easily fix...
get a drill bit one size larger than the shaft of the screw (if you can see it) then drill out the button head of the screw until you hit the bracket. screw head will pop off, radio will come off and you're left with a screw shaft thats unloaded (ie, you'll be able to turn it by hand probably). just wait til it cools off to turn it out


