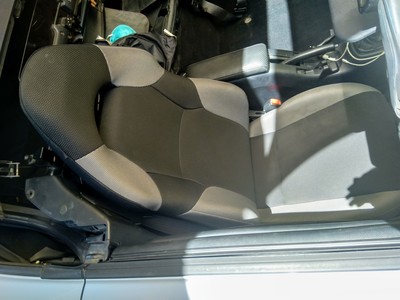
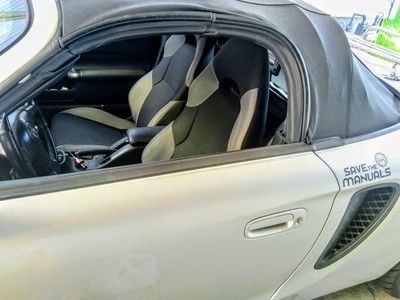
I recently acquired as clean a set of Celica seats as I could hope for these days (Thanks Bryon!). I am really looking forward to cloth here in South Texas. After hunting through multiple threads and DIYs on the topic I came to the conclusion all of the pictures had been nuked. So armed with the (text only) knowledge at hand, I decided to document the rail swap for those who (like me) want to see what they are doing before they do it. The following is done on the right (passenger) seat. If I come across anything different with the left (driver) seat I will document it as well.
Tools:
3/8" drive ratchet (don't use 1/4" like me. It hurt.)
12mm socket
14mm socket
3" extension (as needed)
#2 Phillips screwdriver
Small flathead screwdriver or other small prying tool
A couple of small zip ties to neaten wiring
Assuming you have the seats out of the car and in front of you:
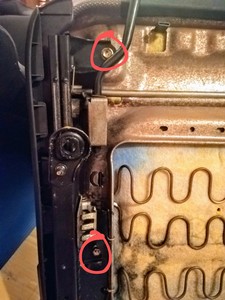
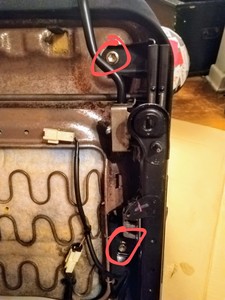
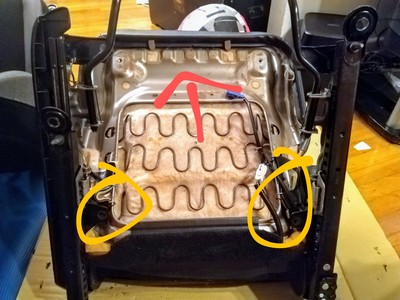
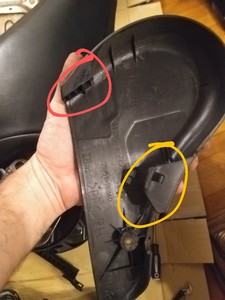
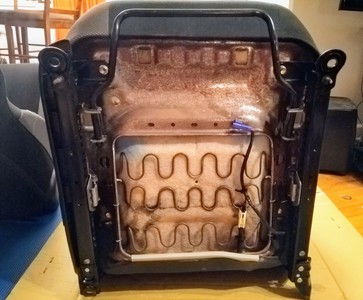
From the bottom of your old seat, remove the 4x 12mm bolts holding the rails to the seat pan. (Red)
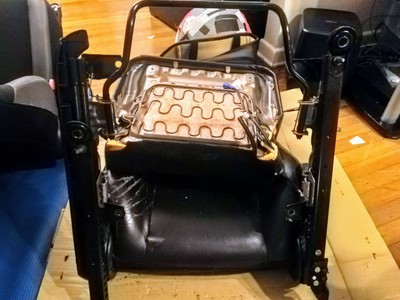
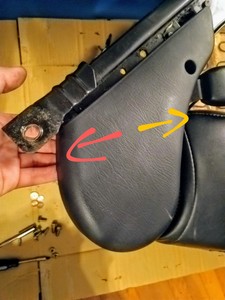
Push the seat bottom away from the rails (red), watch the back of the seat pan as you will need to help the seat fabric her around some parts of the rails (yellow).
Result:
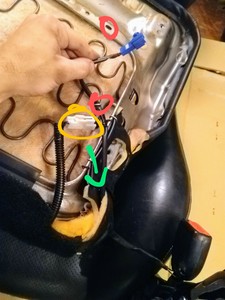
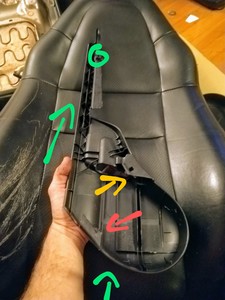
The seat bottom isn't completely free yet thou.... Next you will need to remove the seat and belt buckle sensor wiring from the seat bottom. Unfasten the connector clip and it's tie down from the seat pan (red), unplug the other connector (yellow) and tuck all of the wiring you just freed through the fabric slot in the seat towards the belt buckle (green).
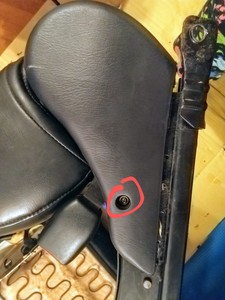
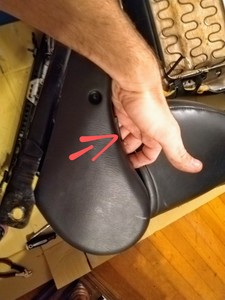
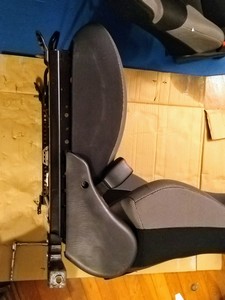
Flip your seat onto the side with belt buckle up, then remove the single Phillips screw in the trim panel (red):
Pry up and out on the back of the trim panel (red), then free the tab in the front near the hinge:
(Please excuse the grunge. It's from the previous owner, I swear.)
Pull up and out near the tab you just released, and you should have the panel free:
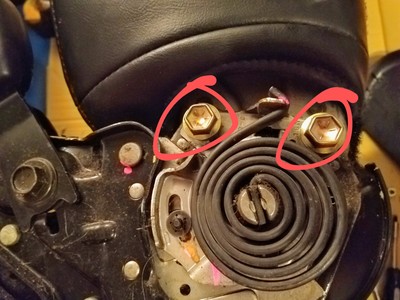
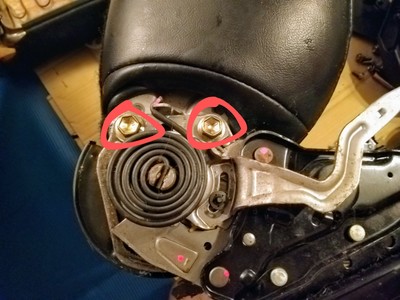
Remove the two 14mm bolts you have just uncovered. They are pretty tight.
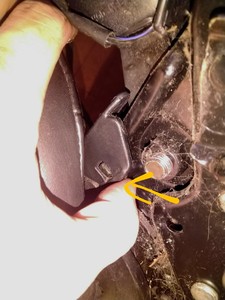
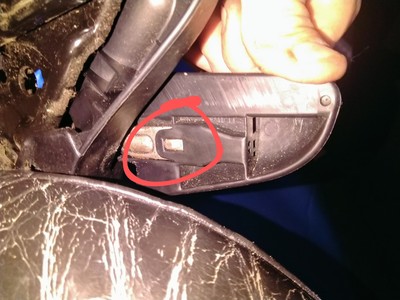
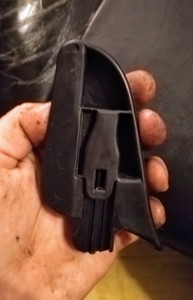
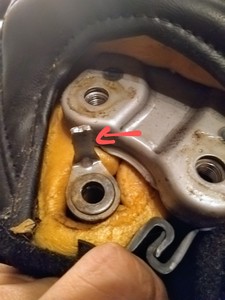
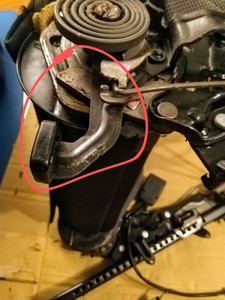
Flip the seat again with buckle side down, then move the seat back lever to a position where you can access the interior side. Use your prying tool to pry the plastic over the metal tab holding it in place (red). The slide the plastic lever cover off.
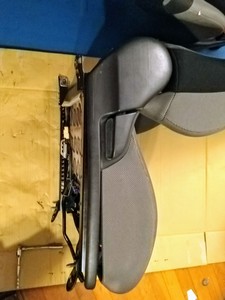
Repeat the previous process of freeing the trim panel (red, yellow), but this time, instead of prying the panel off, push the whole panel towards the front of the seat so you don't obliterate the bit holding the front edge of it on like I did the first time (green).
Remove the two 14mm bolts you have just exposed (red)
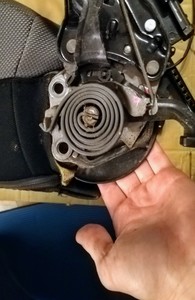
The pull up from under the hinge to separate from the tab (red):
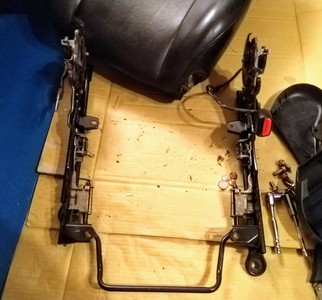
You can now remove the seat back and your rail assembly is free! Yay!
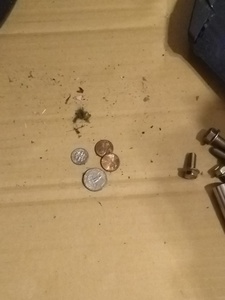
Not much of a tip from all the passengers in the past 126k miles...
Rinse and repeat this entire process on your Celica seat. Then installation is opposite of removal. Don't forget to fasten the wiring back to your seat pan (zip tie).
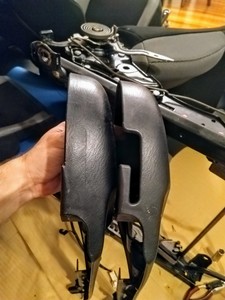
The trim panels are the same for both, same part numbers even. The only notable difference is in the back of the lever side:
For the poor sob that actually got in the back seat of a Celica.... So he could free himself after being forgotten:
Point being, choose whichever trim panels look best and use them.
Ready for install with Spyder rails:
Hopefully this helps someone out there! Will post up the finished product once it's all done.
Its sad that so much from that other place is lost but in a way it’s is a chance to start again.
Great contribution.
Thank you marsrock7! This is great! Much appreciated!
Very nicely done! Thank you for your efforts!
"Think as we think", say many Spyder owners, "or you are abominably wicked, you are a toad". After I'd thought about, I said "I will then, be a toad."
Thank you, Stephen Crane
So this project is definitely finished. The seats have been a huge improvement over the flat backed black leather. They hold WAY less heat, hold me in the seat better, feel more supportive and I feel like I am sitting just a touch lower in the car than I was before. The hole in the neck area is also nice, I get a some air on the back of my neck while driving now.
I still need to add details for the one difference between driver and passenger seat, which is the seat bottom adjustment knob.
Still haven't taken any decent pictures of the new interior, but here are some crappy ones:
